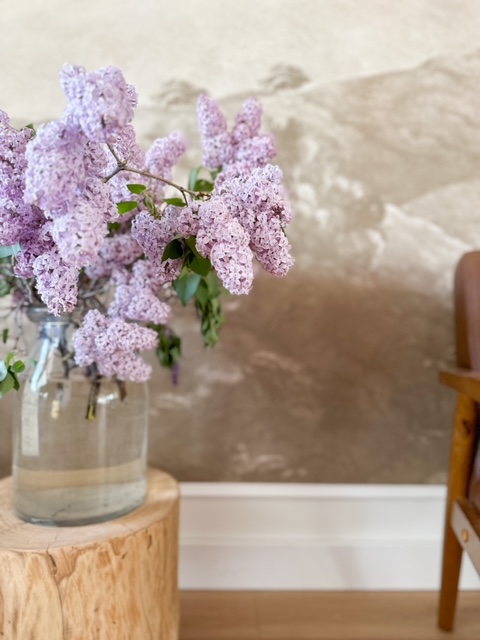
Have you ever seen a wallpaper and loved it but thought that is a step too far for me? That was me. Until a company named BELARTE Studio reached out to me and offered a collaboration. After a quick peak at their selection is was an easy yes.
I had the perfect spot! Our music room is somewhat of an awkward space and has a big blank wall screaming for some kind of treatment, I wasn’t sure what until that moment.

Why a wall mural?
In the realm of interior design, wallpaper has emerged as a versatile and captivating tool to transform any space. A wallpaper mural, in particular, offers an enchanting blend of whimsy and neutrality that can add a touch of magic to your home.
- Versatility: Whimsical yet neutral wallpaper murals offer great versatility. They can effortlessly complement a variety of interior design styles, from modern and minimalistic to bohemian or Scandinavian. Whether your home is already decorated in a particular theme or you prefer an eclectic mix, a neutral mural can adapt to your personal style.
- Evoking Tranquility: Neutral colors have a calming effect on the mind and can create a soothing atmosphere within your living space. When combined with whimsical elements, such as delicate floral patterns or gentle, ethereal scenes, the mural can promote relaxation and tranquility, offering a peaceful sanctuary within your home.
- Longevity: While trends come and go, a whimsical yet neutral wallpaper mural has timeless appeal. Its neutral base allows for greater longevity, as you can easily update your decor without needing to change the entire mural. By choosing a design that speaks to your personal taste and complements your lifestyle, you can enjoy its beauty for years to come.
Installation

Installing a wallpaper mural may seem daunting, but with careful preparation and the right tools, it can be a rewarding DIY project. Here’s a general outline of the installation process that we follow for any wallpaper project! :
- Prepare the wall: Ensure the wall is clean, smooth, and free from any imperfections. Repair any cracks or holes and remove any old wallpaper.
- Measure and cut: Measure the wall area and cut the mural panels accordingly, leaving a small overlap at the edges for a seamless finish.
- Apply adhesive: Follow the manufacturer’s instructions to apply adhesive to the back of each panel or directly onto the wall.
- Position and smooth: Carefully position each panel onto the wall, starting from the top. Smooth out any bubbles or wrinkles using a wallpaper brush or a clean, damp cloth.
- Trim and clean up: Trim any excess mural material at the edges. Wipe away any adhesive residue with a damp sponge.
- Enjoy your mural!
If you want to completely transform a room without adding to much I always say go for wallpaper! And a wall mural in particular can ignite your imagination and provide a calm space!


If you enjoyed this post this previous post might interest you were I documented our traditional wallpaper in our guest room.

Love,
Inez
